READERS

Friday, November 2, 2012

Healthy Banana Muffins

At my house there has been A LOT of early mornings, the ACT, school, and of course deer season. Deer season around my house is a big deal. Not necessarily to me and my mom, but it is a valuable time for my dad and brother. They get up early and go out on the stand and just sit and sit for hours! I seriously don't know how they do it. My mom and I love deer season because we get two big benefits from the season: 1st, we get to enjoy the awesome deer meat they  bring home and 2nd, we get girl time! Its precious time that me and my mom NEVER take advantage of.
So when we have early mornings around here, it means breakfast is a hard choice. My dad and my brother like to stop by the nearest McDonald's and get themselves something, but I thought I would make their lives easier and keep them healthy as well. I found this recipe a while back and had wanted to make them for quite some time, but you have to have overly ripe bananas for the recipe. In my house we love bananas so they weren't getting soft before someone ate them! Finally I bought some bananas and told everyone in my family that they were not to be eaten or thrown away.
The muffins are healthy, easy , and really good! So whats not to like?!

Healthy Banana Muffins
yields about 12 muffins
80 calories EACH!
(I doubled the recipe because I wanted to freeze some!)

3/4 cup all purpose flour
1/4 cup whole wheat flour
1 Tbs baking powder
1/2 tsp baking soda
1/8 tsp salt
1 cup mashed banana (approx. 2 very ripe bananas)
1/4 cup sugar
1/4 cup plain applesauce
1 egg
1/2 tsp vanilla extract

Preheat oven to 350. Stir together the flours, baking powder, baking soda, and salt. Set aside. In a separate bowl beat bananas, sugar, egg, and vanilla. Stir in applesauce, stir in flour mixture. Pour batter into lined muffin tins. About 3/4 full. Bake for 15-20 minutes or until a toothpick comes out clean.

Tuesday, August 14, 2012

Dear Julia

So yesterday would have been Julia Child's 100th birthday, so I was feeling in the spirit to celebrate this special occasion.
I know ever since the blog and movie Julie and Julia people have been trying to cook their way through her cookbook and write about it, I would not be one of those people. I thought I could do it at one point, but after yesterday I know it could never ever happen. The reason why I could never ever do that is because all her food is sooooo good! I mean that's not a bad thing, but if you are like me and like to shove their faces with food and don't like to stop, I am warning you now. BACK AWAY FROM THE COOKBOOK. Okay now I can say I have warned you.
My mom and I thought it would be good to make a dessert because of course, why not?! I looked up her cookbook and the dessert that sounded AMAZING was the Reine de Saba avec Glaçage au Chocolat (chocolate almond cake with chocolate icing) Okay, so you are thinking to yourself chocolate cake with almonds, sounds SUPER exciting (sarcasm) BUT the thing is, it truly is amazing. I quote my dad on this "This is the best thing I have ever eaten" Well Dad you can thank Julia for this recipe.
Last night while I was eating this wonderful creation I was thinking if I were able to write a letter to Julia, what would it say? Would I thank her for this wonderful and addicting dessert, thank her for her great cooking ability or that she brought a great happiness to the kitchens all around the world? It gets the thinking...
AND I was watching the movie as I was shoving the cake in the mouth, I saw the part in the movie where Julie (the blogger) made the cake and it showed her and her husband shoving the cake in their mouths too. This make me feel a lot better because it's impossible to eat this cake without shoving it into your mouth. Don't be ashamed we allll do it.


Reine de Saba avec Glaçage au Chocolat
INGREDIENTS:
FOR THE CAKE
4 ounces or squares semisweet chocolate with 2 TBS rum or coffee
1 stick butter,softened
2/3 cup granulated sugar
3 egg yolks
3 egg whites
pinch of salt
1 TBS granulated sugar
2/3 cup pulverized almonds
1/4 tsp almond extract
1/2 cup cake flour, sifted

FOR THE ICING
2 ounces semisweet baking chocolate
2 TBS rum or coffee
5 to 6 TBS butter

INSTRUCTIONS:
FOR THE CAKE
Butter and flour a 8 inch cake pan and set aside. Preheat the oven to 350. Set the chocolate and rum or coffee in a small bowl over a pot of simmering water, let the chocolate melt while you start the ingredients. Cream the butter and sugar until pale yellow and fluffy. Beat in the egg yolks until well blended.
Beat the egg whites and salt in a separate bowl until soft peaks are formed, then add the sugar and beat until stiff peaks are formed.
With a rubber spatula, bland the melted chocolate into the butter, sugar and egg yolk mixture. Then stir in the almonds and almond extract. Immediately stir in one forth of the egg white mixture, fold it in DO NOT STIR VERY HARD! Blend nicely!!! Then add a little of the flour and fold that in as well. Repeat folding in the egg whites and the flour until it is all incorporated.
Turn the batter into the buttered and floured cake pan. Bake for 25 minutes or until a toothpick comes out clean on the edges and the middle is slightly under done. When it is done keep the cake in the pan for a good 10 minutes the take it out to cool.

FOR THE ICING
Place the chocolate and the rum or coffee into the bowl that is over a simmering pot of water and let the chocolate melt. When the chocolate has melted all the way and it is smooth, take the bowl out of the water and beat in the butter a TBS at a time. When you are beating in the butter place the bowl over ice so the chocolate cools off and thickens as you beat the icing. When the icing has the right consistency frost the cake. Make sure the cake has been cooled off for at least 2 hours before you ice the cake.


Enjoy and if you're like me, enjoy with coffee or a nice cup of milk.

Thursday, June 7, 2012

PASTA!

It has been to long since I have last blogged. I have been a little stressed lately and couldn't find the time to put up a post. The first day of summer I got into a wreck and I found out yesterday that my car that I LOVE was totalled. So today I had to go get all my stuff out of it and I cried. My mom and I pulled up to it and my car just looked so sad. I have been depressed all day and I also have been looking online for cars with my parents all day as well. You would think it would be fun, its not.


On to the PASTA! I have a passion to really learn how to make food. I want to travel and learn from native Italian, French, and Indian people. I want to go to the "roots" of where the food started and learn how to really make it. Of course that it my dream, so I had to stick to the books on this one. I looked in all my moms recipe books and I researched how to make homemade pasta. I wanted to perfect the method. My mom has a fantastic pasta maker that she lets me use and I love it! I decided to make ravioli and also make a tomato sauce. The dough for the ravioli is really easy but rolling it out is when you have to be patient. With making pasta I founds out that the first thing you need is patients.

Ravioli Dough
Serving size: 4

1 3/4 cup all purpose flour
1/4 teaspoon salt
3 large egg yolks
6 tablespoons (or more) water
5 teaspoons olive oil

Mix flour and salt in a medium bowl; make shallow well in center. Add egg yolks, 6 tablespoons water, and oil to well. Using fork, whisk water, egg yolks, and oil. Gradually work in flour from around egg mixture to form crumbly mixture. Knead in bowl until dough comes together, adding more water by 1/2 teaspoons if dry. Turn dough out onto lightly floured work surface and knead until smooth and elastic, about 5 minutes. Divide into 4 equal portions. Cover with plastic wrap; let rest on work surface for 30 minutes.
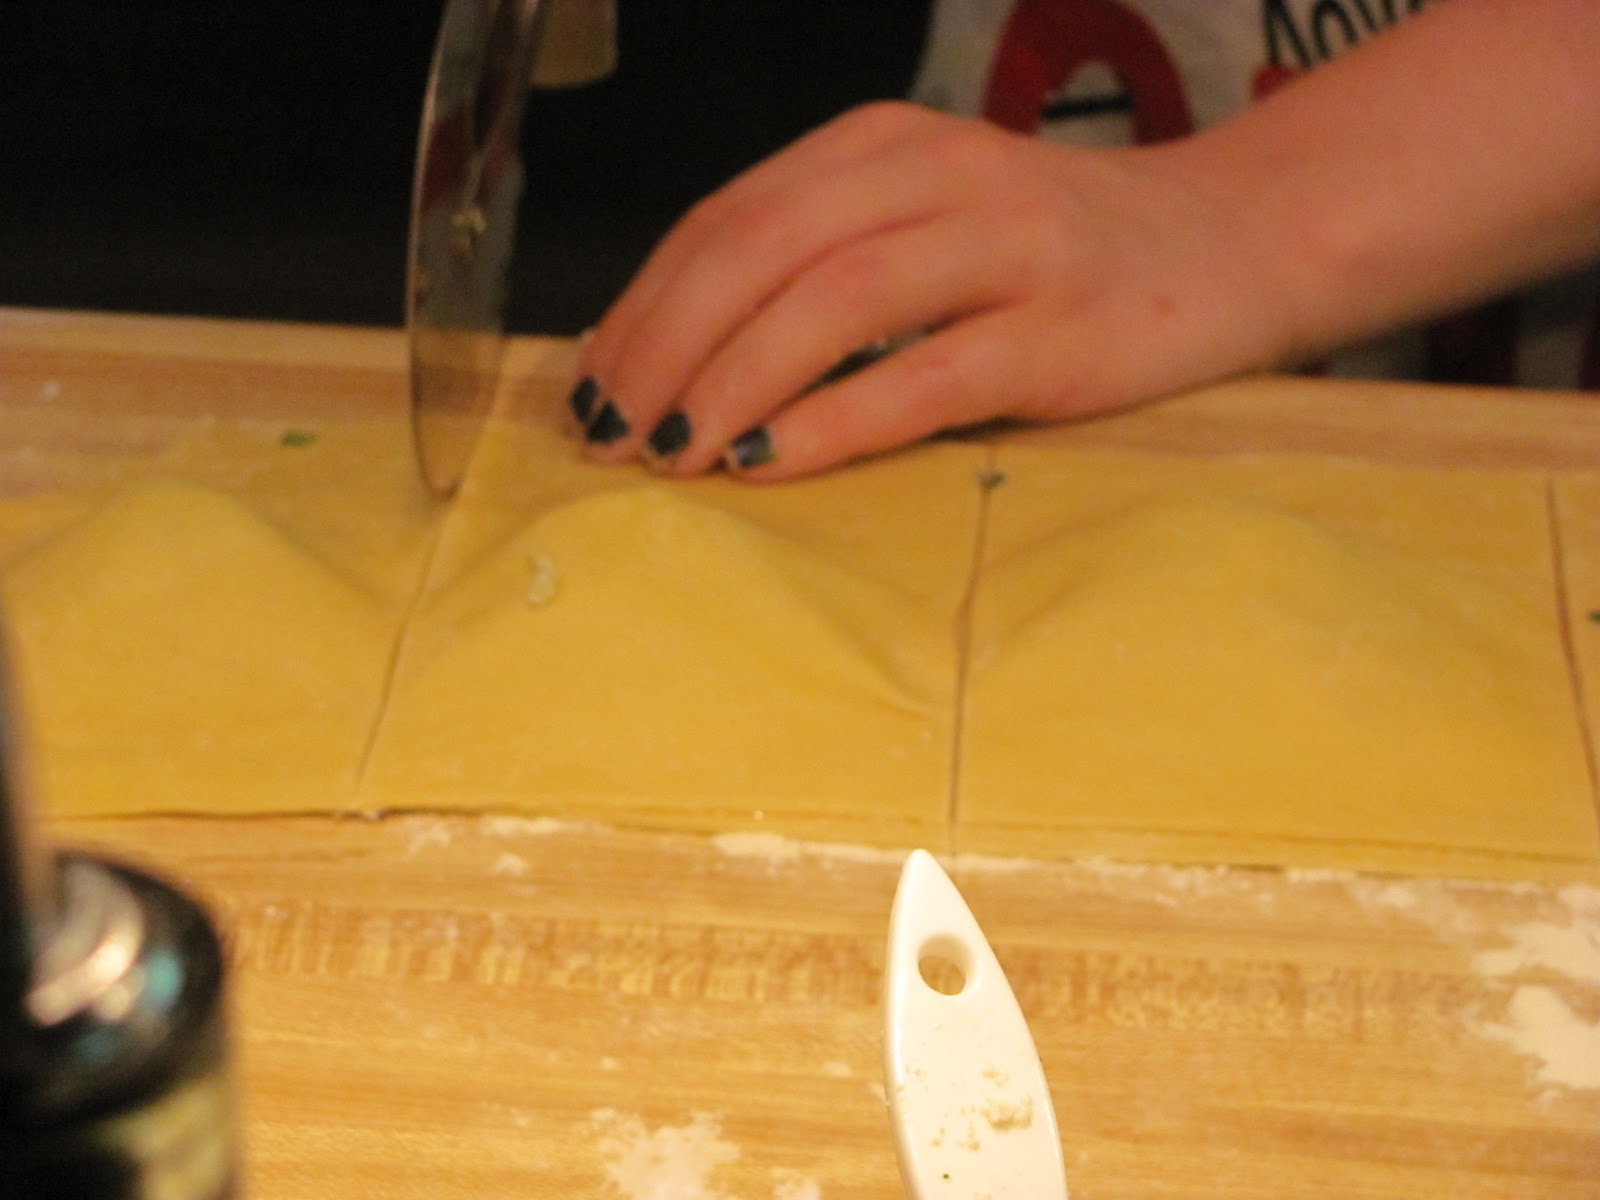
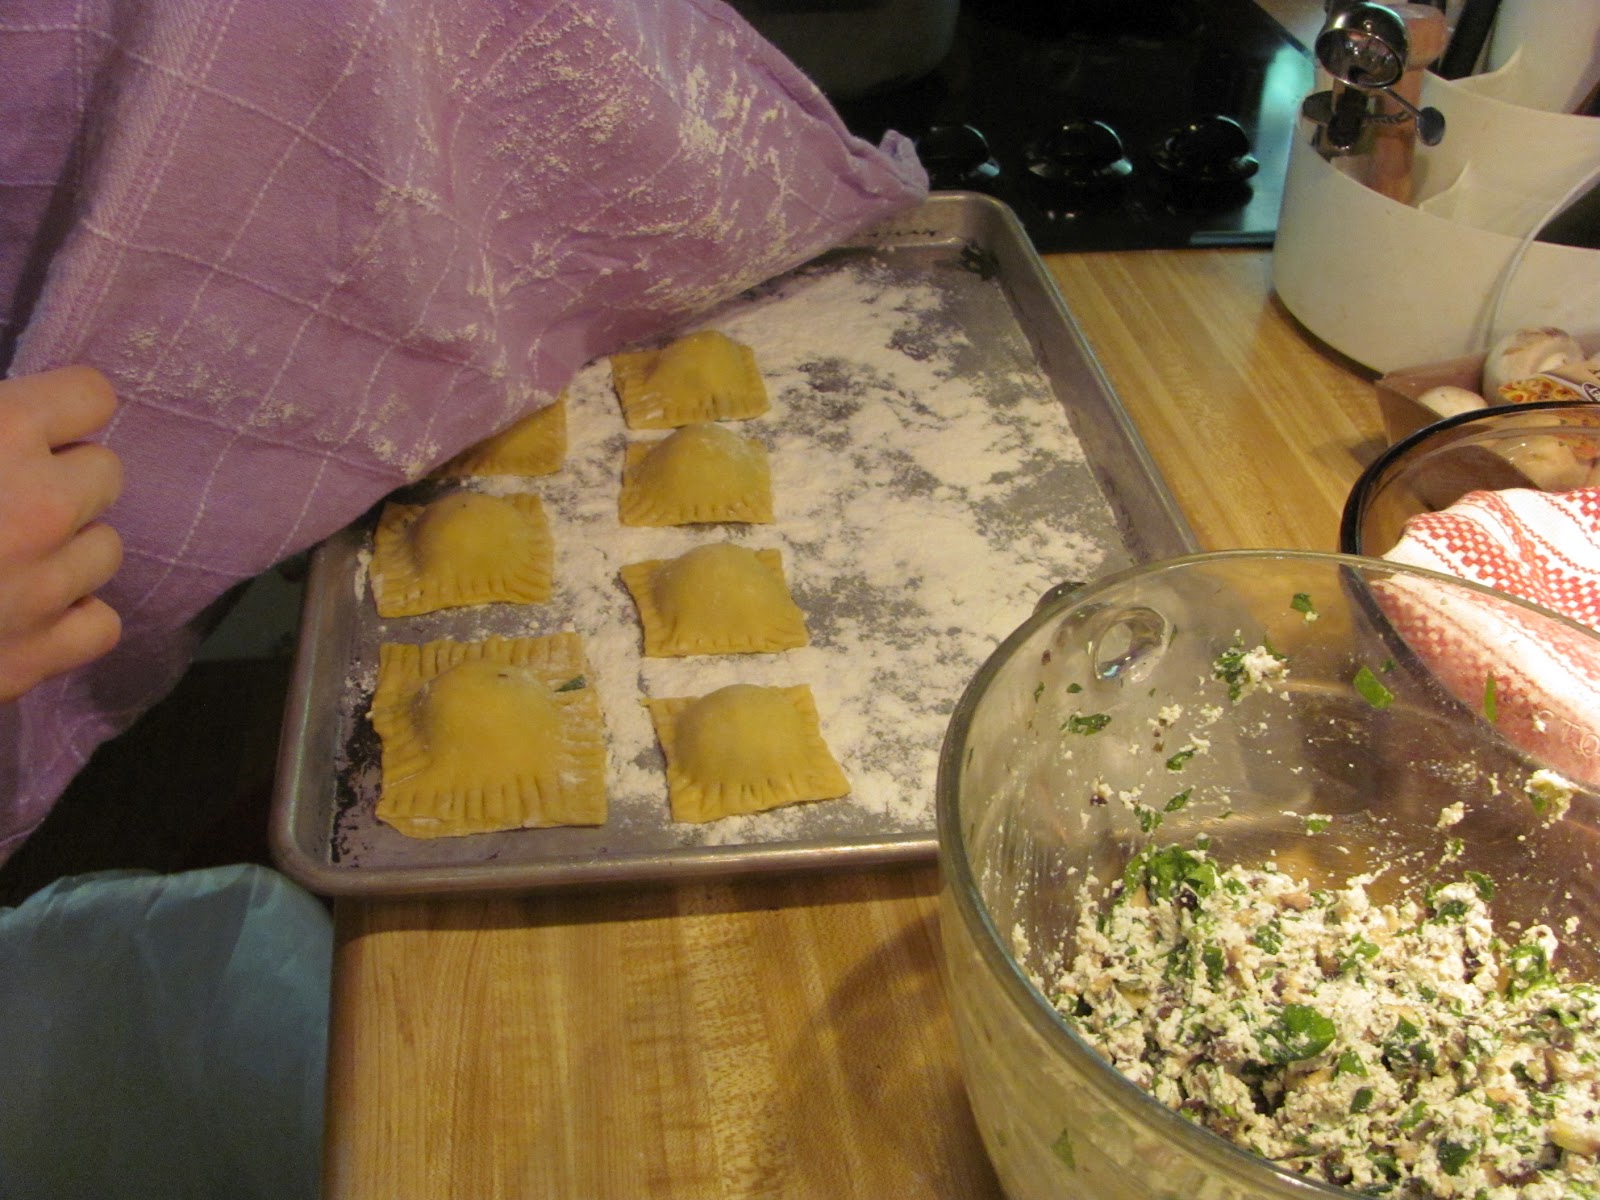
When the dough has rested take 1/4 of the dough and run it through the pasts machine on the biggest setting. Do that a couple of times and keep moving up the setting of the pasta machine so it get really thin. You want very tin dough. Once it is rolled out enough place about a tablespoon of your filling, use egg wash around the filling as a glue for the cover pasta and cover with another sheet of pasta. Cut the pasta (I used a pizza cutter, its just easy) and then press firmly with a floured fork so no water with get in. Set aside until the BIG pot of salted water is boiling. Homemade pasta cooks faster so once they have been floating on the top of the water for about 2 minutes, they are done! Serve with your favorite sauce! It sounds difficult, but give it a shot! You will want to keep making pasta, trust me!
My filling for the ravioli was ricotta cheese, mushrooms, and spinach. I found a recipe for homemade tomato sauce and I also added meat into sauce since the filling didn't have any. You can really put anything with this pasta. It has a great texture and when it is cooked, it has great flavor.

Sunday, April 8, 2012

For the Love of Bread

I don't know about you but I have a love for bread. The smell of bread baking in the oven makes my day. The joy of taking it out of the oven and slicing it and watching the steam come out of the hot, irresistibly yummy bread. I don't care if it is banana bread or fresh baguettes....I love bread. Sweet or savory.
So I thought I would share a savory bread recipe that I created a couple weekends ago when I had no homework and it was raining outside. When it is raining I either want to be at Barnes and Noble or I want to be cooking/baking something. Even though I could be cleaning my room or working out....I chose to bake some bread. Now looking back on it, I should have worked out, then should have  baked some yummy not so good for you bread. OH well. It has oats in it and dried friut...just say its healthy and don't think anymore about it.

Here are your ingredients:


2 1/2 cups all-purpose flour
1 tsp. baking powder
1 tsp. baking soda
1/2 tsp. salt
1/2 tsp. ground cinnamon
Dash of nutmeg
1 cup quick cooking oats
3/4 cup honey
1/3 cup vegetable oil
2 eggs
1/2 cup fat-free milk
2 cups fresh cranberries (or 1 cup dried)

Preheat oven to 350 degrees F and grease a 9x5 inch loaf pan. In a medium bowl, stir together flour, baking powder, baking soda, salt, cinnamon, nutmeg and oats.

In a large bowl, mix together honey, vegetable oil, eggs and milk. Mix in flour mixture until just moistened. Stir in cranberries and pour into prepared baking dish. Bake for about 40 minutes, or until a toothpick inserted in the center comes out clean. Enjoy!

Saturday, February 25, 2012

It's Easy Being Green

Lately in Oklahoma, the weather was been awesome. It was 72 degrees the other day and today it's a mild 62 and I'm loving it. This weather makes me wish the Farmer's market was open. Since the weather has been so nice, my family and I have been grilling things outside on the grill. Every time my dad grills something, it makes me think of SUMMER! I cannot wait! Even though this school year has been great and all, I'm ready for a nice long break!
I love the green color
OK so back to the food, lately I have discovered brussel sprouts. They are so cute and little, but they can be intimidating. If you don't cook them the right way, you will end up eating a very bitter little brussel sprout. I found a recipe that sounded great and I thought to myself, I have to start somewhere and improve from there. I ended up making them with grilled chicken. These little guys were AMAZING! They had just the right sweetness to them and I should have made more!

Roasted Brussel Sprouts
A Molly Woodward Creation

  • 1 1/2 -2 lbs. of brussel sprouts, trimmed and cleaned
  • sea salt and pepper, good amount
  • about 4-5 Tbs. of olive oil
Preheat your oven to 400.
Cut off the ends and yellow-ish leaves.
Make sure your brussel sprouts are trimmed and washed. Take a cookie sheet or a glass container and lay all the little brussel sprouts out on it. Drizzle with olive oil and season well with salt and pepper. Make sure all the brussel sprouts are coated with everything. Pop in the oven for about 30-40 minutes. Check on them and when they start to turn dark, pull them out and gobble them up.
They should look like this when they are done!


This recipe is SUPER easy and really yummy. The good thing about this recipe is that you can serve it in a salad, pasta, or just as a side dish. It is excellent and worth the try. Don't be scared, they are Delicious!

Tuesday, January 31, 2012

A Little Adventure

A couple weeks ago my mom and I went to the Asian market! Sounds exciting doesn't it?! Well it is! We were on a mission, a mission for RICE PAPER!!! My mom and I have looked EVERYWHERE in Edmond for rice paper and we hadn't found any! I wanted to recreate these spring rolls Target sells in the deli section. I discovered them a couple months ago and I crave them all the time now! I found a recipe and all I needed was the rice paper, so we were at our braking point until my dad suggested the Asian market! I got so excited and a couple of hours later my mom and I found ourselves in the middle of the biggest, who knew it was there, Asian market. The market was HUGE and I couldn't believe this magical place was here this whole time. I felt like a kid in a candy store. My mom and I were lost, so we asked this really nice old Asian man, whos barely spoke any English, to help us find the rice paper. He quietly walked over one aisle and pointed down this whole aisle with rice paper and rice noodles. I almost peed my pants I was so excited!

Classic Spring Rolls
yields 8 spring rolls

20 large cooked shrimp, cut in half
1 package of lettuce
Thia basil
cilantro
rice noodles
lime juice
8 rice paper sheets

Dip the sheets in the water one at a time. First put down the cut in half shrimp(about 4 per roll), then the lettuce, Thia basil, cilantro cooked rice noodles, and lime juice. Roll the little sides in, then the bigger sides. They will stick and so you need to do it right the first time. Repeat these steps until you are out of sheets.


Dip you spring rolls into sweet chili sauce (at target in the Asian aisle) or soy sauce.
These are SUPER easy and very yummy of course!

Saturday, January 21, 2012

New Look to the Normal

My family and I love to try new foods and experiment with new flavors. One of our favorite go to appetizers or snack is Boudin. If you have never heard of boudin, I want you to drive right now to Walmart and get some. You can also order it off websites, the ones online from Louisiana are better, but not everyone is patient enough to wait that long. Boudin is a highly seasoned  link sausage of pork and rice that is a typical element of Louisiana Creole cuisine. It comes in a casing that you eat it out of. You can grill them, poach them, or in this case FRY THEM! We normally poach them with some water in a skillet and turn the burner on medium-high heat and wait til it is heated all the way through. If you do it this way, you might need to keep an eye on it and had more water.
My family and I were watching a cooking show and they were talking about boudin and they said the ways to cook it and one of the ways was to fry it! My dad insisted we try it, so we did and I feel like my life has changed forever. In Oklahoma frying almost anything is normal, which might be the reason that we are up there on the obesity chart! So my advice is to not eat this everyday! haha but once you try it, you will want it every day.

Fried Boudin
thanks to my dad for preparing it :)


Boudin unprepared.


Take your boudin and cut it about an inch in diameter or each piece. As seen in the picture to the left.
 Prepare your egg wash with about 4 eggs whisked together in a bowl and then some plain bread crumbs in another bowl. No need to add any salt or pepper because the boudin is already seasoned to perfection. 

Ready to fry!


Get your cast iron skillet hot with oil. Dip your boudin in egg wash then the bread crumbs and stick in the skillet. Cook for about 3-4 minutes, take out of the skillet, let cool and ENJOY! I like to put a little bit of hot sauce on top of mine before I eat them!

Done!

Heaven!


Appetizer Idea:
Once you get the boudin out of the skillet put a toothpick in the top and put of a platter and serve to your hungry guests. They will thank you forever for this discovery!